Resistance-Band Workout: A Scalable Full-Body Plan
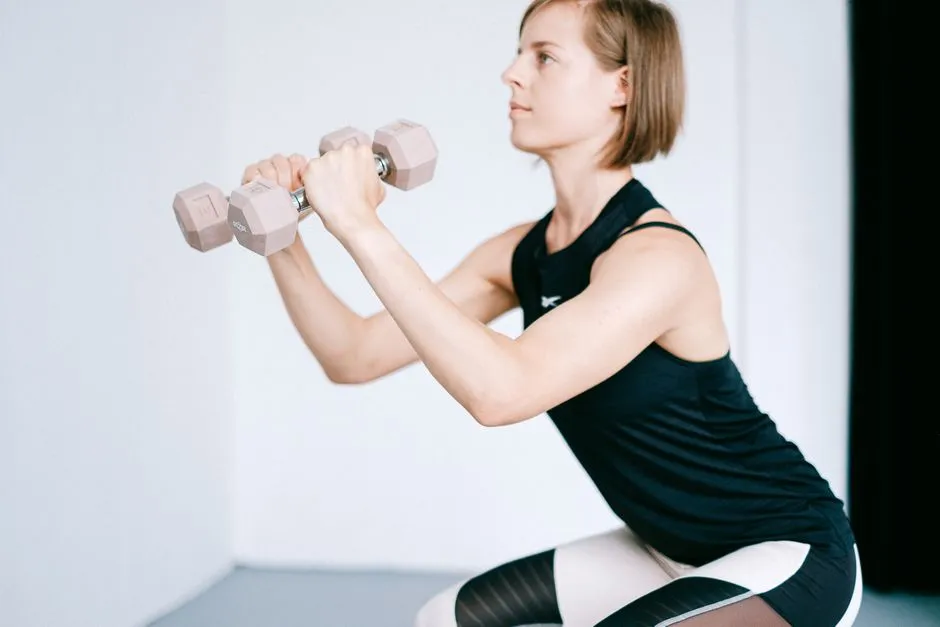
- Six patterns, two days, and one very secure anchor
- Equipment and space check
- Door anchors need a deliberate setup
- Warm up for 8–10 minutes
- The workout
- 1. Band squat
- 2. Anchored row
- 3. Chest press
- 4. Romanian deadlift
- 5. Half-kneeling pulldown
- 6. Pallof press
- Select resistance with repeatable effort
- Progress reps before tension
- A four-week entry
- When bands are not the best tool
- Stop signs and recovery
Six patterns, two days, and one very secure anchor
This full-body band workout uses a squat, row, chest press, Romanian deadlift, pulldown, and Pallof press. Perform it twice weekly on nonconsecutive days. Begin with 1–2 sets of 8–12 controlled repetitions, rest 60–120 seconds, and stop each set with 2–3 good reps in reserve.
Inspect the band, handles, stitching, and anchor before every set. Stay out of the recoil path and never exceed the manufacturer’s stretch limit. Band training is portable; physics has declined the portability offer and travels with it.
This is general exercise education for healthy adults, not rehabilitation. Pain, pregnancy, recent surgery, chronic conditions, balance problems, or a long inactive period may require medical or physiotherapy guidance and individual modifications.
Equipment and space check
You need one or more long resistance bands or tube systems designed for exercise, plus manufacturer-approved handles and anchors if the exercises require them. Colour is not standard between brands.
Before training:
- read the product instructions and stretch limit;
- inspect the entire band under good light;
- look for nicks, cuts, cracks, thin sections, sticky or chalky texture, and discolouration;
- check handles, clips, carabiners, stitching, and anchor fabric;
- remove jewellery or sharp objects that can abrade the band;
- choose a floor with secure footing and enough clearance;
- keep people, pets, and breakable objects outside the recoil path;
- retire questionable equipment rather than taping it.
Store bands away from direct sun, heat, cold extremes, oils, solvents, and sharp edges according to the maker’s guidance. There is no universal replacement date; condition, material, storage, and use differ.
Door anchors need a deliberate setup
Use only a door anchor intended for your band system and a solid door in good condition. Position it so your pulling direction tends to close the door rather than open it. Close and lock the door when possible, check hinges and latch, and tell others not to enter.
Test the setup with gentle tension while standing to one side. Do not anchor to a doorknob, handle, loose post, furniture, railing, pipe, or improvised knot. Keep the band away from sharp door edges.
If no safe anchor exists, choose the anchor-free alternatives listed below. A row skipped is preferable to a door introduced at speed.
Warm up for 8–10 minutes
Follow the strength warm-up sequence:
- Walk or march easily for 3 minutes.
- Perform 5–8 comfortable bodyweight squats, wall push-ups, hip hinges, and arm reaches.
- Complete one light rehearsal set of the first two band exercises.
The warm-up should increase readiness, not create fatigue. Stop for dizziness, chest discomfort, unusual breathlessness, sudden weakness, or pain and seek appropriate care.
The workout
| Exercise | Setup | Work | Rest |
|---|---|---|---|
| Band squat | Band under feet, held at shoulders | 1–2 × 8–12 | 90–120 sec |
| Anchored row | Secure chest-height anchor | 1–2 × 8–12 | 60–120 sec |
| Chest press | Secure anchor behind body | 1–2 × 8–12 | 60–120 sec |
| Romanian deadlift | Band under feet, ends in hands | 1–2 × 8–12 | 90–120 sec |
| Half-kneeling pulldown | Secure high anchor | 1–2 × 8–12 | 60–120 sec |
| Pallof press | Secure side anchor | 1–2 × 6–10 per side | 45–90 sec |
Use one set in week one. Add the second only when technique is stable, daily function is normal, and soreness resolves comfortably.
1. Band squat
Stand on the middle of a long band with both feet and hold the ends near the shoulders. Ensure equal length on each side and no band lies against a sharp shoe edge.
Sit the hips down and back through a comfortable range while keeping whole feet grounded and knees tracking naturally with toes. Stand smoothly without snapping the knees or letting the band pull hands into the face.
Choose a light band. If resistance becomes overwhelming at the top, use less pre-stretch, a lighter band, or a bodyweight squat to a stable box. Do not wrap bands tightly around the neck.
2. Anchored row
Anchor the band at chest height. Face the anchor and step back until gentle starting tension exists within the allowed stretch. Stand staggered or sit securely as the equipment instructions permit.
Pull handles toward the lower ribs, keeping wrists neutral and shoulders away from ears. Pause, then return slowly without allowing the band to jerk the arms forward.
Your face should not sit behind handles, clips, or anchor hardware. If a component fails, it should not have a direct appointment with your eyes.
Anchor-free alternative: sit with legs comfortably extended, loop a suitable band around both feet as permitted, and row while keeping the band centred and away from sharp soles. Do not use this setup if the band can slip off.
3. Chest press
Place a secure anchor behind you around mid-chest height. Face away, hold handles beside the ribs, and step into a staggered stance. Press forward until arms are extended without locking forcefully or rounding the body toward the band.
Return slowly until elbows reach a comfortable position. Do not let the band drag across the neck or place the anchor directly behind the head.
Anchor-free alternative: use incline push-ups against a fixed, stable rack bar or wall. A bodyweight option is still resistance training; the band does not receive a participation trophy.
4. Romanian deadlift
Stand on the band with feet around hip width and hold equal ends. Soften the knees and push the hips backward while the hands travel close to the thighs. Stop when the hamstrings limit range or trunk position begins to change, then stand smoothly.
Keep the neck neutral and shoulders controlled. Do not squat deeply or lean backward at the top. The band should stay centred beneath the feet and within its stretch limit.
If grip is the limiting factor, use manufacturer-approved handles or a lighter band. Never wrap a high-tension band tightly around the hand where it can restrict circulation or trap fingers.
5. Half-kneeling pulldown
Use a secure high anchor. Kneel on a pad with one foot forward, or use the standing alternative if kneeling is uncomfortable. Hold the band overhead with modest starting tension and pull elbows toward the sides while keeping ribs stacked over the pelvis.
Return under control without allowing shoulders or band to yank upward. Use light resistance because band tension rises as it stretches and the movement occurs near the face.
Standing or seated alternative: use the same high anchor from a stable stance or firm chair. Persistent knee, hip, back, or shoulder pain needs professional assessment, not a more elaborate cushion arrangement.
6. Pallof press
Anchor at chest height and stand sideways. Hold the handle at the sternum with both hands, step away until light sideways tension exists, and adopt a balanced stance. Press hands slowly forward without letting the trunk rotate toward the anchor. Pause and return.
Complete all reps, then turn and train the other side. Use less resistance than ego proposes; the goal is resisting rotation, not being reeled across the room.
Keep knees unlocked and breathing steady. If the anchor pulls your balance, move closer or use a lighter band.
Select resistance with repeatable effort
Choose a setup allowing 8–12 smooth reps with 2–3 good reps remaining. The final reps may slow slightly, but range, alignment, and control stay stable.
Record:
| Field | Example |
|---|---|
| Band | Brand X light red |
| Anchor | Door, hinge side, chest height |
| Distance | Toes on tape mark 2 |
| Grip | Handle, neutral |
| Work | 2 × 10 |
| Effort | RIR 3, even |
Do not compare colours across manufacturers. Do not combine bands unless the manufacturer explicitly permits it and rates the attachments for the combined force.
Progress reps before tension
Use double progression:
- Start at 8 reps for one or two sets.
- Add one rep while 2–3 RIR and form remain.
- Reach 12 on every set across two sessions.
- Add a small, measurable challenge.
- Return toward 8 reps.
Challenge can increase by moving slightly farther from the anchor, shortening the working length only as allowed, or selecting the next band. Mark floor position with tape so “a little farther” does not migrate into a lunge across the postcode.
Change one variable. More reps plus a stronger band plus a farther stance is three progressions wearing one coat.
A four-week entry
Week 1: One work set of every exercise. Learn setup and leave 3–4 reps in reserve.
Week 2: Add a second set to squat, row, press, and deadlift if recovery is easy.
Week 3: Add one repetition to selected sets while maintaining 2–3 RIR.
Week 4: Repeat and improve consistency. Increase tension only where every set reaches 12 cleanly across two exposures.
No week requires progression. Illness, unusual fatigue, poor sleep, or lingering soreness can justify repeating or reducing work. Training plans are allowed to notice your life.
When bands are not the best tool
Free weights or machines may offer easier load quantification and more stable resistance for some movements. Bands become awkward when the start is too easy but the end is impossible, when safe anchors are unavailable, or when hand strength and skin sensitivity make gripping uncomfortable.
Use the two-day gym-based beginner plan if its equipment suits you better. Neither plan should be stacked in full; they are alternatives.
Bands also do not diagnose or rehabilitate injuries by themselves. “Low impact” does not mean appropriate for every joint or condition.
Stop signs and recovery
Stop a set for band damage, anchor movement, loss of footing, pain, numbness, dizziness, chest discomfort, severe unusual breathlessness, or sudden weakness. For alarming symptoms, seek urgent care as appropriate.
Mild muscle fatigue is expected; sharp, worsening, persistent, or function-limiting pain is not a cue to add another band. Consult a doctor or physiotherapist.
Cool down with a few minutes of easy movement if it feels comfortable. There is no need to punish the session with a second workout labelled “finisher.” Store clean, dry bands according to their instructions after they return fully to resting length.
The plan works because setup is repeatable, effort is controlled, and progression is small. Portable equipment deserves stationary judgement.